NBI Clearance Payment Via GCash – A Step-by-Step Guide
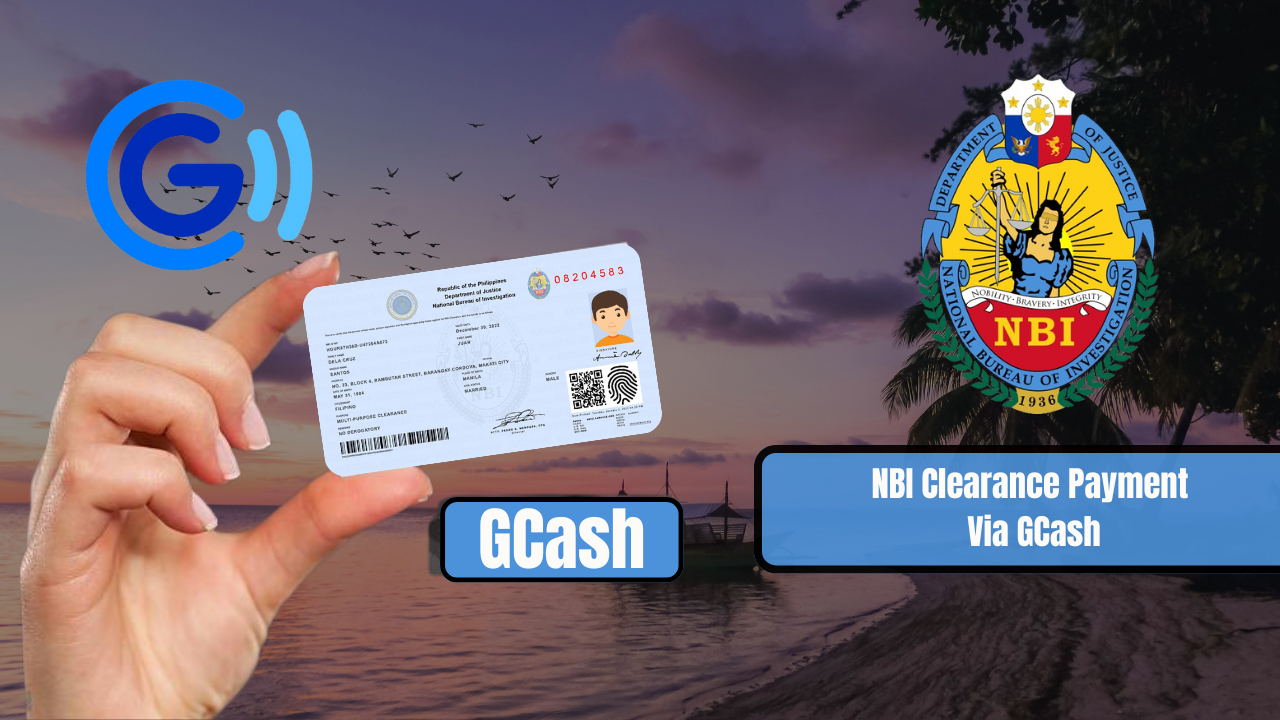
NBI Clearance Payment Via GCash. When applying for an NBI Clearance, one crucial step in the process is the payment option. Here, we’ll focus on using the GCash payment option to settle your NBI Clearance application fee.
What is the GCash?
GCash is a mobile money or “e-money” platform that enables users to perform various financial transactions, including bill payments, money transfers, and online shopping.
Partnering with Private Corporations
In line with the digitalization of processes, NBI Clearance has partnered with private corporations to handle fee collections. Previously, 7-Eleven assisted in fee collection, but now, GCash is being utilized.
NBI Clearance Payment Via GCash
Let’s delve into the steps required to pay your NBI Clearance fee using the GCash app:
Step 1: Obtaining Your NBI Clearance Reference Number
Begin at the final steps of the NBI Clearance application process, where you secure your NBI Clearance Reference Number.
Step 2: Selecting GCash as the Payment Option
In the payment options section, locate and click on the GCash logo to proceed with payment.
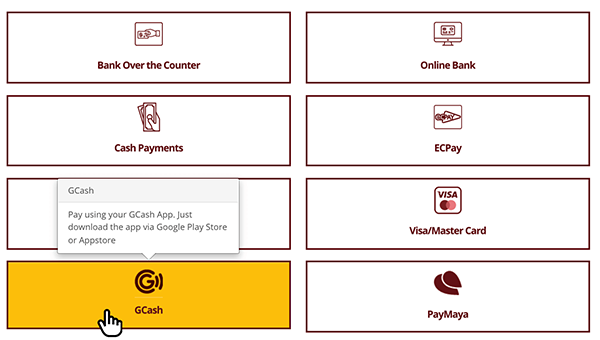
Step 3: Confirming Payment Details
A small window will prompt you, informing you that an NBI Clearance Reference Number will be generated, and you’ll need to use your GCash app to complete the payment.
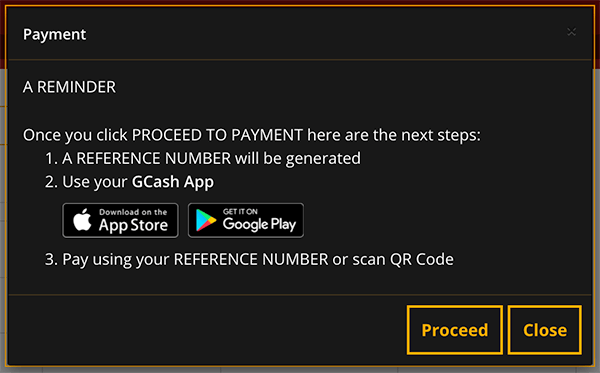
Step 4: Payment Summary
Ignore the initial payment summary as the amount displayed is not final. Click “Proceed to Payment” to continue.
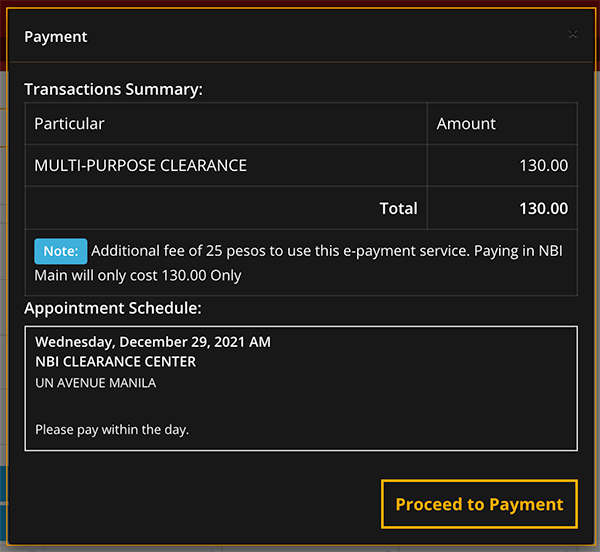
Step 5: Final Payment Details
Review the payment summary, ensuring accuracy in the displayed NBI Clearance Reference Number and total amount to be paid.
Step 6: Completing the Payment
Proceed to finalize the payment process by clicking “Accept.” This will generate a unique NBI Clearance Reference Number and display the final payment amount.
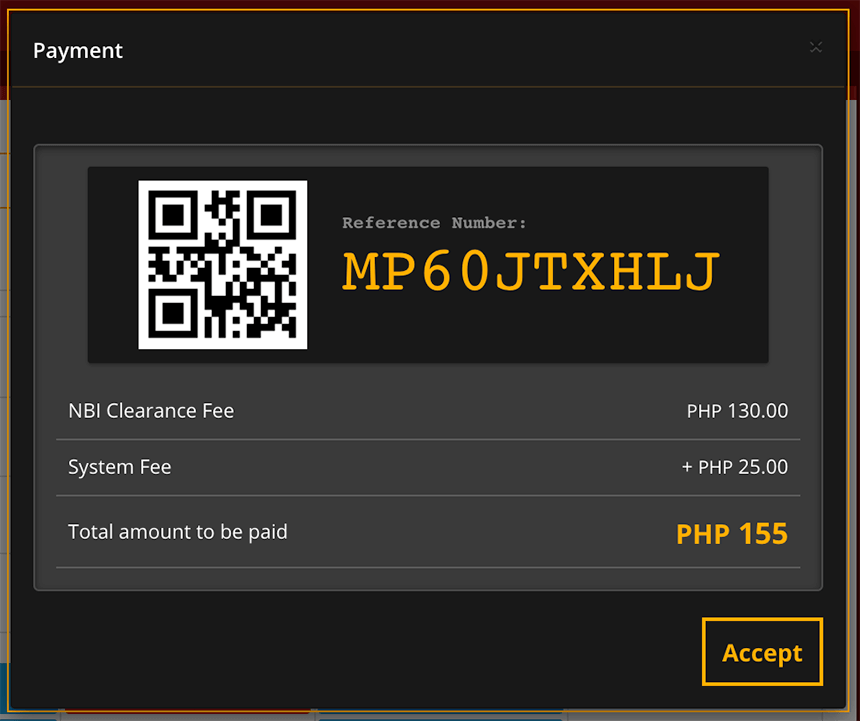
NBI Clearance Payment Via on GCash App
- GCash App Login: Open the GCash app on your smartphone and log in using your MPIN.
- Navigating to Pay Bills: Locate and tap on the “Pay Bills” icon within the app.
- Selecting NBI as Biller: Utilize the search function to find “NBI” among the billers. Select it to proceed.
- Entering Payment Details: Input the NBI Reference Number and the correct fee amount. Accuracy is paramount as incorrect entries may invalidate transactions.
- Confirming Payment: Review the transaction summary carefully before confirming. Once confirmed, the payment process begins.
- Payment Confirmation: A confirmation page acknowledges the successful payment transaction. Save this receipt for future reference.
Verifying Payment and Application Status
After completing the payment process through the GCash app, it’s essential to verify the status of your NBI Clearance application:
Step 1: Checking NBI Clearance Application Status
Log in to the NBI Clearance website and navigate to the “Transactions” section to check the status of your scheduled appointment.

Step 2: Confirming Payment Success
Upon checking your application status, ensure that the status has changed from “Pending” to “Paid.” Additionally, verify the payment date and time, mode of payment (GCash), and other relevant details.
Conclusion
With the successful payment of your NBI Clearance fee via GCash, you’re now one step closer to completing your application process. Simply await your scheduled appointment date and time, ensuring you have all necessary requirements, including two valid IDs and your NBI Clearance Reference Number. Should you have any queries regarding the payment process, feel free to leave a comment below.

